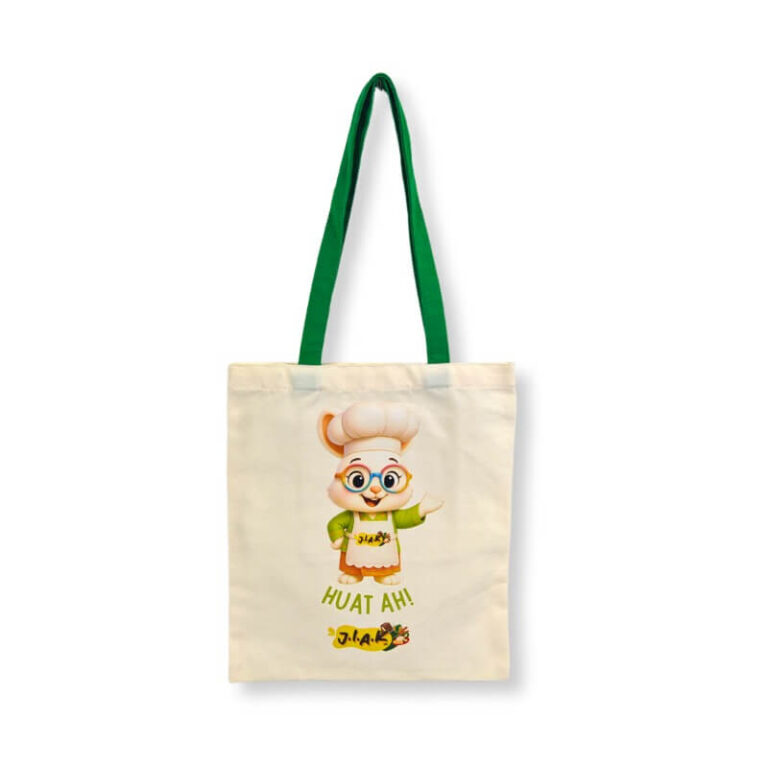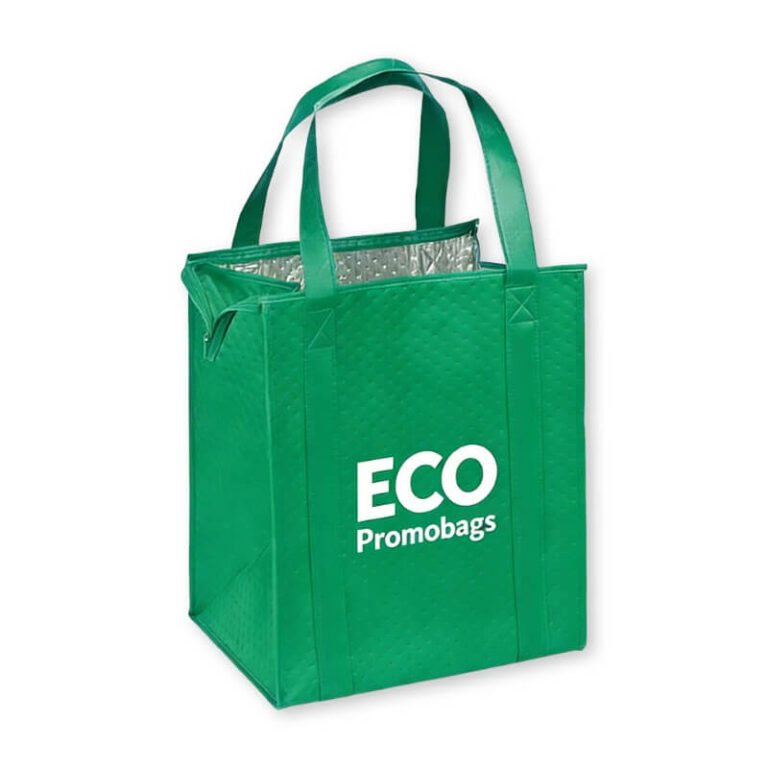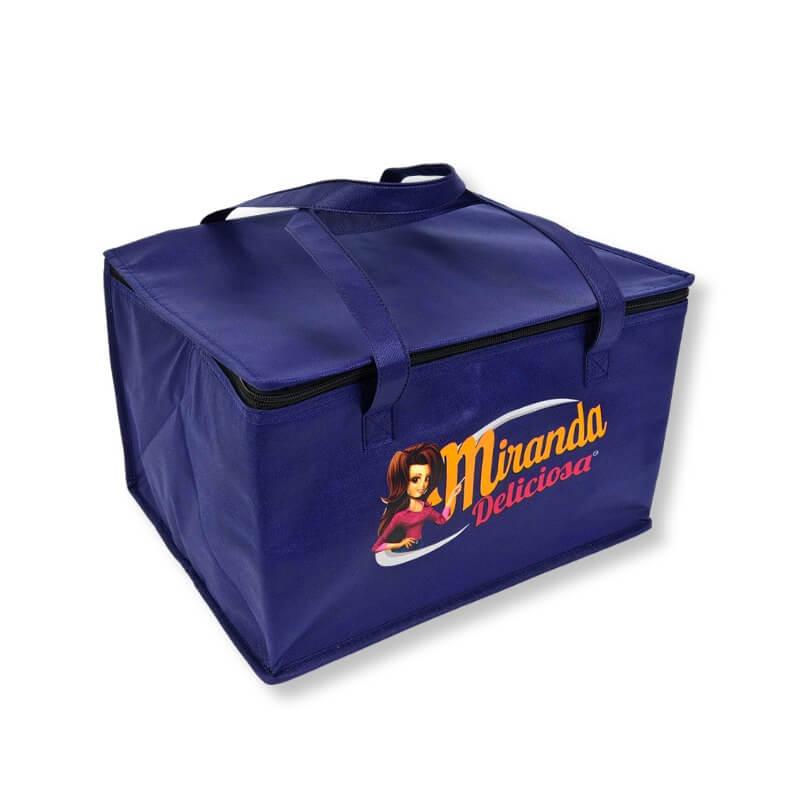
So you’ve chosen the perfect bag. You’ve picked the material, the size, maybe even the handle style. Then you send your logo to the printer, and they reply with two words that make every first-time buyer panic: “We need a vector file.”
What does that mean? Why isn’t your high-resolution JPEG good enough? And how do you actually get a vector version without paying a fortune or spending a week learning Adobe Illustrator?
I’ve had this conversation hundreds of times with clients. The confusion is real, but the solution is simpler than most people think. Let’s walk through why vector files matter for bag printing, and how to get one without the headache.
What’s the Difference Between Vector and Raster?
Your logo probably started life as a raster image. That means it’s made of pixels—tiny colored squares arranged in a grid. JPEG, PNG, and GIF files are all raster formats. They look fine on a screen because screens are also made of pixels.
The problem shows up when you scale a raster image up. Try enlarging a small JPEG to fit a 40cm-wide tote bag, and suddenly your crisp logo turns into a blurry, blocky mess. The edges become jagged. Fine details disappear. And no printer, no matter how advanced their equipment, can turn that back into a sharp print.
Vector files are different. Instead of pixels, they use mathematical paths—points, lines, and curves—defined by equations. When you scale a vector logo, the math recalculates, and the image stays perfectly sharp at any size. A vector file that looks great on a business card will look just as crisp on a billboard. Or in this case, on a bag.
For bag printing, especially screen printing, vector files are essential. The printer uses those paths to create screens or printing plates. Without them, you’re asking the printer to guess, and that’s when mistakes happen.
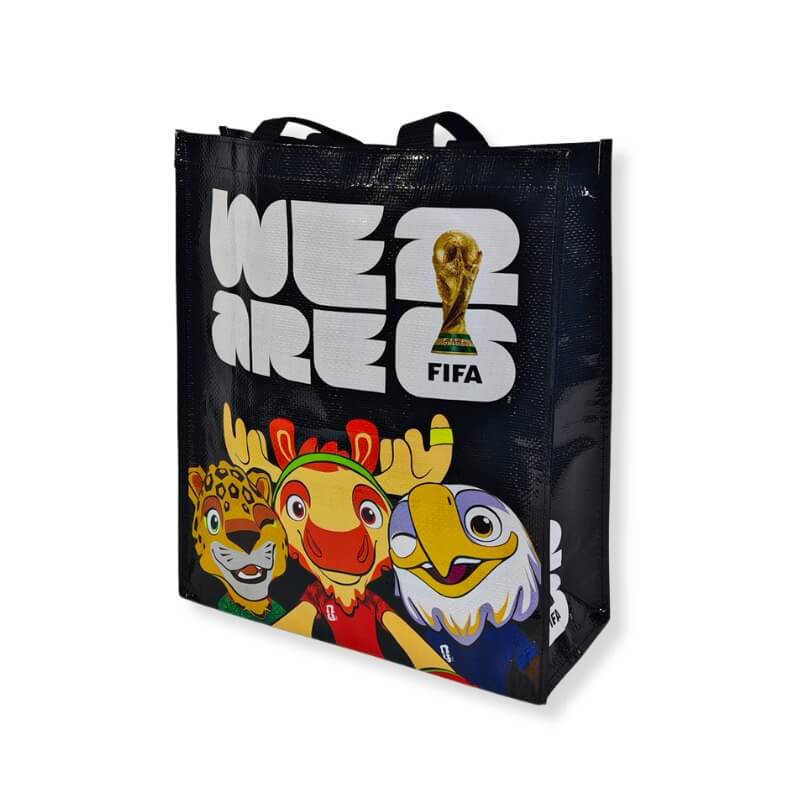

Why Bag Printing Is Less Forgiving Than Digital Media
On a website, a slightly fuzzy logo might go unnoticed. On a printed bag, it stands out immediately. A bag is a physical product that people hold, inspect, and carry around for months. If the logo looks blurry or the colors are off, it reflects poorly on your brand.
Different printing methods also have specific file requirements. Screen printing, the most common method for promotional bags, requires a separate screen for each color. Your vector file tells the printer exactly where each color boundary lies. Digital printing on bags still benefits from vector files because they eliminate resolution issues and ensure clean edges.
And don’t forget embroidery. If your bag has an embroidered logo, the digitizer needs a vector file to map the stitches correctly. Without it, the embroidery machine will produce a messy result—or the digitizer will charge you extra to recreate the artwork from scratch.
How to Vectorize Your Logo: Three Realistic Paths
Now for the practical part. You have three options, depending on your budget, timeline, and design complexity.
Option 1: Hire a professional (best for complex logos)
If your logo has gradients, fine details, or was originally hand-drawn or painted, hire a professional vector artist. You can find them on freelance platforms like Fiverr, Upwork, or through a local design agency. Expect to pay anywhere from $30 to $150 for a simple logo, and more for complex artwork. The turnaround is usually 24 to 72 hours.
When you hire someone, ask for the final file in AI (Adobe Illustrator), EPS, or PDF format. Also request a version in SVG if you plan to use it on a website. A good vector artist will provide multiple formats and keep the paths clean and editable.
Option 2: Use auto-tracing software (okay for simple logos)
If your logo is simple—clean lines, solid colors, no gradients—you can try auto-tracing tools. Adobe Illustrator has a “Image Trace” feature. Inkscape, a free alternative, has a similar function. There are also online tools like Vector Magic or Autotracer.
Auto-tracing converts pixels to paths automatically, but the results can be messy. Lines may be wobbly, curves may have extra anchor points, and small details may disappear. You’ll need to clean up the result manually, which requires some design software experience. For a basic logo with two or three colors, auto-tracing can work well enough. For anything more complex, go with a professional.
Option 3: Recreate the logo from scratch (best for outdated or low-quality files)
Sometimes the original vector file doesn’t exist. Maybe your logo was designed years ago, or the designer never handed over the source files. In that case, you need to recreate the logo from scratch. A professional can redraw it based on a high-resolution image or a physical sample. This costs more—usually $80 to $250—but it gives you a clean, accurate vector file that will serve you for years.
What to Ask Your Printer Before You Send Files
Once you have a vector file, don’t just email it and hope for the best. Ask your printer these questions:
- What file formats do you accept? Most accept AI, EPS, PDF, and sometimes SVG. Some prefer PDF with embedded fonts.
- Do you need fonts outlined? Yes, always outline text before sending. This converts letters to paths, so the printer doesn’t need your specific font installed.
- What color mode do you need? For screen printing, Pantone (PMS) colors are usually best. For digital printing, CMYK is standard. RGB files will be converted, which can shift colors.
- What’s the minimum line thickness? Very thin lines may not print cleanly on fabric. Ask for their recommended minimum.
- Do you need a bleed? If your design extends to the edge of the bag, you’ll need to add bleed (extra artwork beyond the cut line).
Common Mistakes to Avoid
- Sending a low-resolution JPEG and calling it “high quality.” 300 DPI is fine for a photograph, but it’s not a vector file. Don’t argue with your printer on this one.
- Forgetting to outline fonts. If you send a PDF with live text, the printer may not have your font. The text will either disappear or change to a default font. Always outline text.
- Using RGB colors for print. RGB colors look vibrant on screen but often appear dull or shifted when printed. Convert to CMYK or specify Pantone codes.
- Assuming your logo works at any size. A logo designed for a business card may have fine details that disappear on a large bag. Simplify if necessary.
The Bottom Line
Vectorizing your logo isn’t a technical hurdle—it’s a necessary step in professional bag printing. Whether you hire a designer, use auto-tracing software, or recreate the file from scratch, the investment pays off in crisp, accurate prints and a brand image that looks as good in real life as it does on screen.
At EcoPromoBags, we help clients every day with file preparation and print-ready artwork. If you’re unsure whether your logo is ready for bag printing, send us a sample and we’ll take a look. No obligation, just honest advice.
Ready to print your logo on a custom bag? Contact us today for a free artwork check and a quote. Let’s make sure your logo looks its best.