You’ve selected the perfect giveaway item—a sleek water bottle, a stack of branded notebooks, or perhaps a collection of samples. Now comes a surprisingly tricky question: what size bag do you need to hold it all? Order bags that are too small, and your items won’t fit, creating frustration for recipients and a logistical nightmare for your team. Order bags that are too large, and your products rattle around, looking lost and diminishing the perceived value of your giveaway.
Getting this right matters more than you might think. The bag you choose serves as the first physical interaction recipients have with your brand. It should embrace your items comfortably, not strangle them or swallow them whole. As a manufacturer who has helped countless clients navigate this exact dilemma, let me walk you through a practical framework to choose the right bag size for your giveaway item every single time.
Step 1: Start With Your Item’s Dimensions
Before you even think about bag styles, grab your giveaway item and a measuring tape. You need three numbers, and you need them accurate:
- Length: The longest side of your item.
- Width: The side perpendicular to the length.
- Height (or Depth): For boxes or thicker items, this matters. For flat items like brochures, thickness still counts.
Write these down. If you’re packing multiple items together, stack or arrange them as they would sit in the bag and measure the combined dimensions. For soft items like t-shirts, consider folded dimensions after compression.
Here’s a pro tip: always add a comfort margin of at least 1 to 2 inches (2.5 to 5 cm) to each dimension. This buffer accounts for slight variations in folding, the bulk of multiple items, and the ease of inserting and removing contents. A bag that fits like a glove sounds ideal but often proves frustrating in practice.

Step 2: Understand Bag Measurements—They’re Not Always Obvious
Bag sizing isn’t always intuitive. Different styles measure differently, and knowing what those numbers actually represent prevents costly mistakes.
- Standard Tote Bags: Measurements typically appear as Width (the opening from left to right) x Height (from the base to the top of the bag). The gusset (side depth) often appears as a third measurement. A bag listed as 15″ W x 16″ H x 4″ Gusset means it spans 15 inches across, stands 16 inches tall, and expands 4 inches deep at the base and sides.
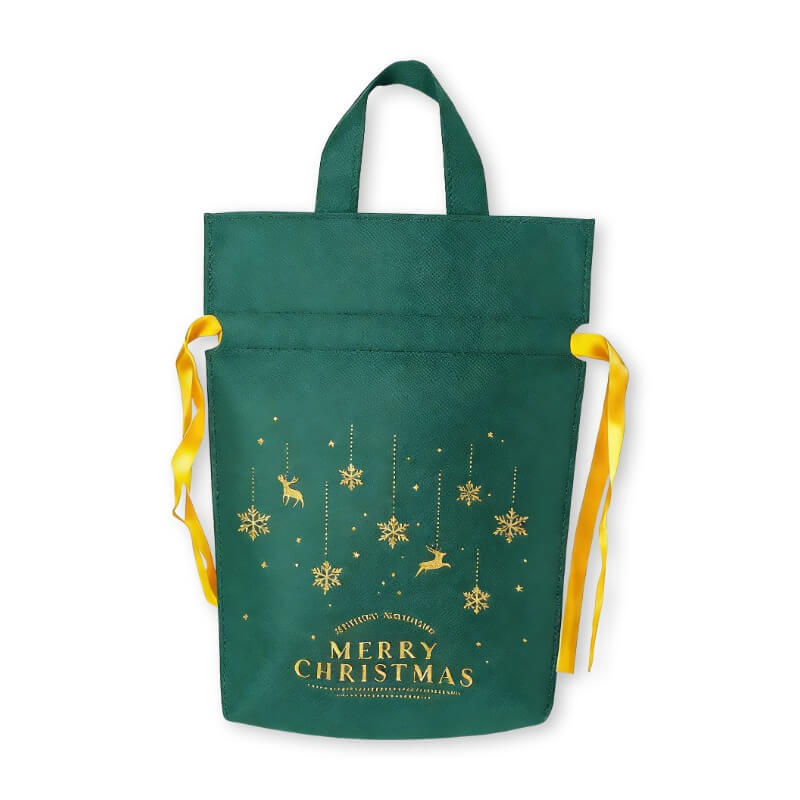
- Drawstring Bags: These usually measure width x height when laid flat. However, because they cinch closed, the usable space differs slightly from the flat measurement. Consider the shape of your items—square items work well, while very wide items may not fit through the cinched opening comfortably.
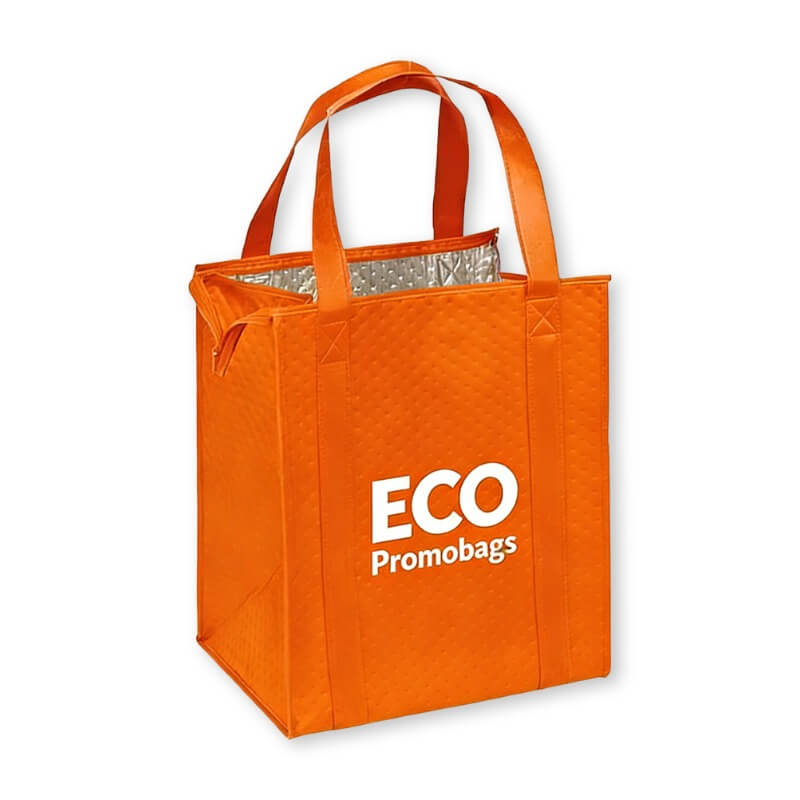
- Cooler Bags: These often measure interior dimensions separately from exterior. Always confirm whether the listed size refers to interior capacity or exterior footprint. The difference can be several inches of insulation thickness.
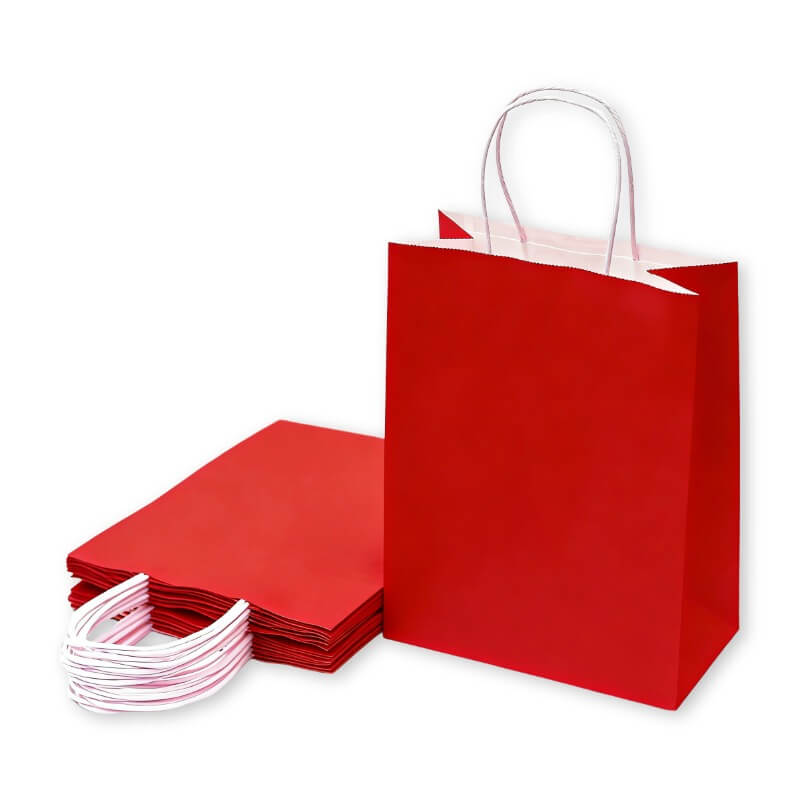
- Paper Bags: These typically measure width (across the front) x depth (gusset) x height. For example, a common lunch bag size is 8″ W x 5″ D x 10″ H.
Step 3: Match Bag Style to Item Shape
Not all items fit all bag styles equally well. Consider the geometry of what you’re packing:
- Tall, Narrow Items (water bottles, wine bottles): Look for bags with adequate height and a stable base. Bottle bags often feature a round or square base with a drawstring or zipper top. Standard totes work if the height exceeds the bottle’s height plus the handle drop.
- Wide, Flat Items (brochures, tablets, boxes): Standard totes excel here. Ensure the width comfortably exceeds your item’s width, and the height accommodates it without the item protruding above the bag’s top edge.
- Oddly Shaped or Bulky Items (promotional kits, multiple products): Gusseted bags are your friend. A deep gusset (4 to 6 inches) creates a boxy shape that contains irregular items neatly and prevents them from shifting into awkward bulges.
- Soft Goods (apparel, plush items): These compress, so you have more flexibility. However, consider presentation—a slightly oversized bag allows the item to lay flat rather than bunching unattractively.
Step 4: Visualize With Simple Tools
Before committing to production, test your assumptions. A few low-tech methods save expensive mistakes:
- The Cardboard Box Test: Cut a cardboard box to the approximate interior dimensions of your proposed bag. Place your items inside. Can you remove them easily? Does the box bulge? This crude simulation reveals sizing issues immediately.
- The Paper Template: For flat bags like totes, draw the bag outline on paper at full scale. Place your items within the outline. This visual check confirms whether your items fit within the printable area and whether the proportions look balanced.
- Request a Physical Sample: This remains the gold standard. A pre-production sample loaded with your actual items tells you everything. Does the bag sit flat when full? Do the handles strain? Does the branding align correctly with the contents? Invest in a sample; it’s cheap insurance.

Step 5: Consider Handle Drop and Carry Comfort
Size isn’t just about interior space. Handle length dramatically affects usability:
- Standard Tote Handles (20-25 cm / 8-10 inches): Comfortable for hand carrying or slipping over the wrist. Works for lighter loads and standard shopping bags.
- Shoulder Straps (50-60 cm / 20-24 inches): Ideal for heavier items or longer carries. Distributing weight across the shoulder reduces fatigue.
- Short Handles (10-15 cm / 4-6 inches): Common on paper bags and some promotional totes. Best for lightweight items carried short distances.
Match your handle length to your intended use and item weight. A heavy load on short handles creates an unpleasant carry experience, subtly associating discomfort with your brand.
Common Size Guidelines for Reference
While every project differs, these industry-standard sizes provide useful starting points:
| Bag Type | Common Size (W x H x Gusset) | Best For |
|---|---|---|
| Small Tote | 12″ x 12″ x 3″ | Small giveaways, cosmetics, books |
| Medium Tote | 15″ x 16″ x 4″ | Standard conference swag, notebooks, water bottles |
| Large Tote | 16″ x 18″ x 5″ | Multiple items, bulky products, groceries |
| Wine/Bottle Bag | 4″ x 13″ (round) or 8″ x 4″ x 13″ (box) | Single bottle with protective padding |
| Drawstring Sack | 14″ x 18″ | Apparel, gym items, rolled posters |
| Lunch/Cooler Bag | 9″ x 8″ x 6″ | Meal containers, snacks, small beverages |
The Bottom Line: Fit Reflects Care
When recipients receive a giveaway item in a bag that fits perfectly—not too tight, not swimming in excess space—they subconsciously register that someone paid attention. That attention to detail reflects positively on your brand. Conversely, a poor fit suggests carelessness, undermining the very goodwill your giveaway aims to build.
Let Us Help You Get It Right
At EcoPromoBags, we’ve guided thousands of clients through the sizing process. We know the common pitfalls and the simple fixes. Whether you’re packing slim tech gadgets or bulky product samples, we can recommend the optimal bag dimensions, style, and handle configuration for your specific needs.
Ready to choose the right bag size for your giveaway item? Contact us with your item details and quantities. We’ll provide expert recommendations and samples that take the guesswork out of your next campaign.